
Why the Adjuster Visit Matters So Much
If you've filed a roof damage claim anywhere in the Branson and Springfield area, the insurance adjuster's visit is the moment that sets the number everything else gets built on. It's a short appointment, often under an hour, but what gets measured, photographed, and written down that day shapes whether your claim covers a full repair, a partial one, or gets denied outright.
A lot of homeowners treat this visit like a formality, something that happens to the house while they stand off to the side. It isn't. The adjuster works for the insurance company, and their job is to document damage accurately within the time they have on site. Showing up prepared, and having someone who knows roofs standing next to them, changes how thorough that documentation ends up being.
What the Adjuster Is Actually Doing Up There
An adjuster's job on your roof is narrower than most people expect. They aren't deciding whether to approve your claim on the spot, and they usually aren't roofing experts in the way a contractor is. Their task is to document the condition of the roof against your policy's coverage terms and produce a damage estimate their company can act on.
Measuring and Marking the Test Square
Most adjusters start by measuring the roof's total square footage and noting its pitch, since both affect labor and material costs in the estimate. From there, they'll usually mark off a test square, a defined section of roof, to count damage closely rather than inspecting every square foot by hand.
Where that test square gets placed matters more than most homeowners realize. A square placed on a section that took less impact than the rest of the roof can undercount damage across the whole surface. This is one of the clearest reasons to have your own roofer present, since they can flag a square placement that doesn't represent the roof fairly.
Photographing and Documenting Damage
Beyond the test square, the adjuster photographs flashing around chimneys and vents, valleys, ridge caps, and any soft decking or granule loss they notice. These photos become part of the official claim file and get referenced if the estimate is ever disputed or appealed.
An adjuster moving through several claims in a single day may photograph the obvious damage and move on quickly. A roofer standing beside them is more likely to point out a cracked pipe boot, a bruised ridge cap, or a soft spot near a skylight that's easy to miss from a quick walk-through, especially on a roof with multiple slopes or dormers.
| What's Compared | Insurance Adjuster | Your Roofing Contractor |
|---|---|---|
| Who they represent | The insurance company | You, the homeowner |
| What they measure | Damage within policy terms, test square count | Full scope of repair needed, code compliance |
| Tools used | Claim software, standard pricing database | Hands-on inspection, installer's experience |
| What happens next | Writes the initial damage estimate | Can submit a supplement if the estimate falls short |
What to Have Ready Before They Arrive
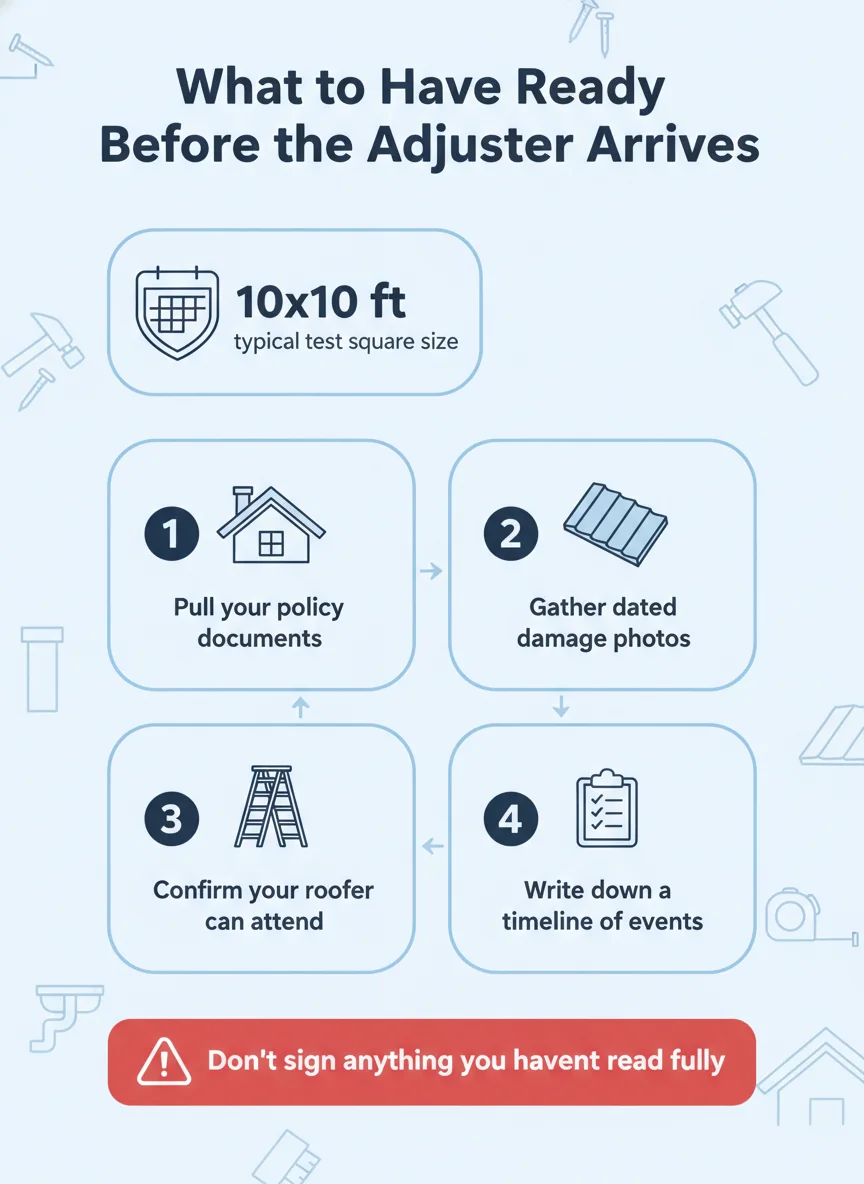
Walking into the adjuster meeting with your documents organized makes the whole process faster and reduces the chance of a gap in your claim file. Pull your policy paperwork ahead of time so you know your coverage terms and deductible, and gather any photos you took of the damage or the storm itself, dated if possible.
A short written timeline helps too. Note when you first noticed the problem, whether a storm event triggered it, and any temporary repairs you made in the meantime, like emergency tarping after a windstorm. Insurance companies look for a clear, consistent story, and a timeline you can hand over removes guesswork from the conversation.
Step-by-step: Getting Ready for the Adjuster Visit
There's a sequence that puts you in the strongest position going into the appointment, starting well before the adjuster's truck pulls into the driveway.
- Review your policy: Read through your coverage limits and deductible so you know what's on the table before the conversation starts.
- Collect your photos: Gather any dated photos of the damage, the storm, or the roof's condition beforehand, including before-and-after shots if you have them.
- Schedule your roofer: Confirm your roofing contractor can be on site at the same time as the adjuster, not before or after.
- Write your timeline: Put together a simple written record of when the damage happened and when you noticed it.
- Walk the roof together: Let the adjuster and your roofer inspect the same areas at the same time rather than separately.
- Ask questions on site: If something in the estimate doesn't match what you're seeing, ask about it while everyone is still standing on the roof.
- Get a copy of the estimate: Request the adjuster's written report before they leave so your roofer can compare it to their own findings.
What to Say and What Not to Guess At
Answer the adjuster's questions honestly and stick to what you actually know. If you're not sure when a specific section of flashing was last replaced, say so rather than guessing at a date, since an inaccurate answer can create a mismatch between your claim and your home's actual history.
Sticking to the Facts
It's worth being specific about what you observed, like water coming through a ceiling after a storm or finding shingles missing in the yard, without speculating about the cause. Let the roof itself and your roofer's professional assessment make the case for what happened.
Avoid downplaying or overstating the damage either way. Adjusters are trained to spot exaggeration, and understating a problem can leave real damage out of the final estimate. A calm, factual walk-through of what you've noticed is more effective than either extreme.
When the Estimates Don't Match
It's common for a roofer's estimate and the adjuster's estimate to come in differently, since they're built from different starting points, a contractor's hands-on measurements versus a claims pricing system. When that happens, your roofer can typically document the gap with photos and a written scope and submit it to the insurance company as a supplement.
This back-and-forth is a normal part of the claims process rather than a sign something went wrong. Keeping your documentation organized from the start, including the photos and timeline you prepared before the visit, makes the supplement process faster if it turns out one is needed.
What You Can Handle Yourself and What Needs a Roofer
Gathering paperwork, taking photos, and writing down a timeline are all things a homeowner can do on their own before the adjuster ever arrives. None of that requires climbing on the roof or any special knowledge, just a little organization ahead of the appointment.
Walking the roof itself, identifying damage patterns, and translating what's found into a repair scope is where a licensed roofer earns their place in the process. Roofs have slopes, flashing points, and material layers that aren't obvious from the ground, and a trained eye catches things a homeowner or even a generalist adjuster can miss.
The safest approach is splitting the work this way: you handle the documentation and scheduling, and your roofer handles the technical inspection and any back-and-forth over the estimate. That division keeps the process moving without putting anyone on a roof who shouldn't be there.
Getting the Meeting Right the First Time
The adjuster meeting isn't something you get a second shot at in the same way, so preparation matters more than people expect going in. A little organization beforehand, paired with a roofer who knows what to point out while everyone is still on the roof, tends to produce a more accurate claim than either side working alone.
If you're facing an adjuster visit anywhere from Branson to the surrounding towns and want someone familiar with shingle roofing walking the roof with you, Full Life Roofing Construction can be there for the appointment.
Frequently asked questions
Should my roofer be there when the insurance adjuster inspects my roof?
Yes, having your roofer on the roof with the adjuster is one of the most useful things you can arrange. A contractor who installs roofs for a living catches details an adjuster working through dozens of claims a week might move past quickly, and having both parties look at the same damage at the same time cuts down on disagreements later.
What does an insurance adjuster actually measure on a roof?
An adjuster typically measures the roof's overall dimensions, checks slope and pitch, and marks a test square to count damage in a defined area. They also photograph flashing, vents, valleys, and any soft spots or granule loss they find, then use that documentation to build their damage estimate.
What is a test square and why does it matter?
A test square is a marked section of roof, often around 10 feet by 10 feet, where the adjuster counts every hit or sign of damage closely. The count in that one square gets used to estimate damage across the whole roof, so its placement matters a lot to the final number.
What should I have ready before the adjuster shows up?
Have your policy documents, any dated photos of the damage or the storm event, and a simple written timeline of when you first noticed a problem. The more organized and specific you are, the less room there is for confusion once the adjuster starts writing their report.
What happens if my roofer's estimate and the adjuster's estimate don't match?
It's common for the two numbers to land in different places, since a roofer is pricing a full, code-compliant repair and an adjuster is working from insurance claim software. When that happens, your roofer can typically submit a supplement with photos and documentation showing what the adjuster's estimate missed, and the insurance company reviews it from there.